"DIY Paper Items for PC Beginners: How to Change the Paper Size for Printing in Word?"
2020.01.20 published
How to Change Paper Size in Word?
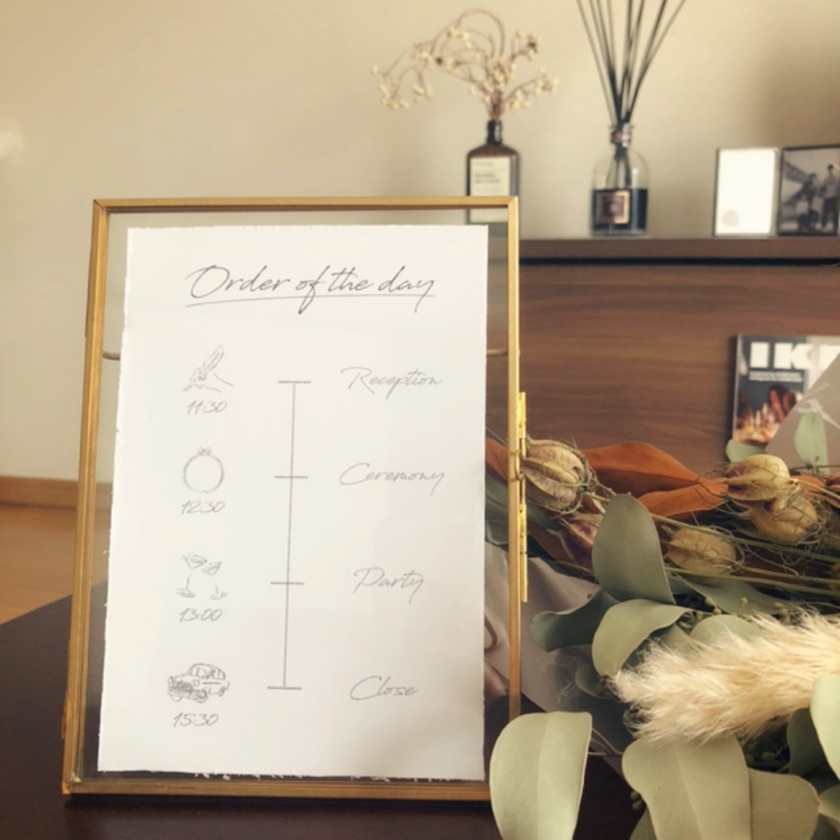
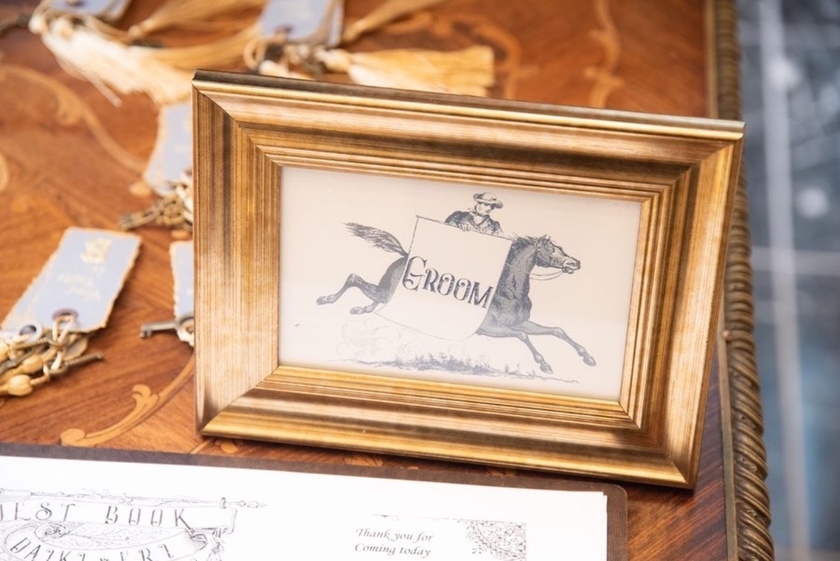
☑ Welcome Board
☑ Invitation
☑ Place Card
☑ Seating Chart
☑ Menu
☑ Save the Date
And more! For brides who are dedicated to handmade items for their wedding, here is a basic guide on how to change the paper size in Word.
While this may be common knowledge for those who are used to computers, beginners might not know even this. Since it’s basic knowledge, let’s remember it ♩
【How to Change Paper Size in Word】
① Set Word to the desired paper size.
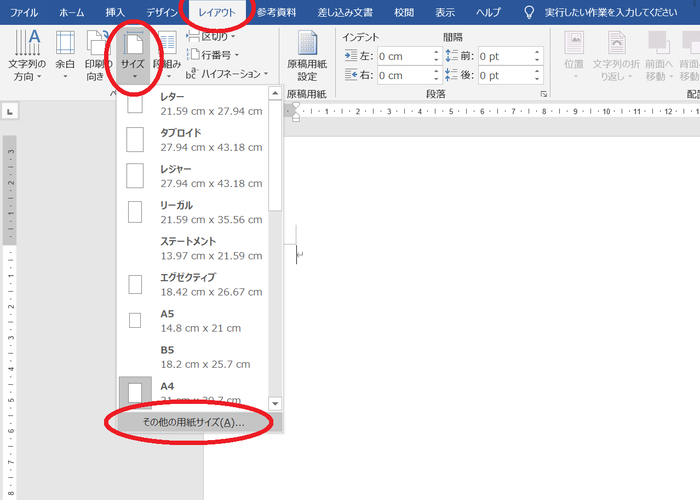
Go to Layout > Size > Select Other Paper Sizes.
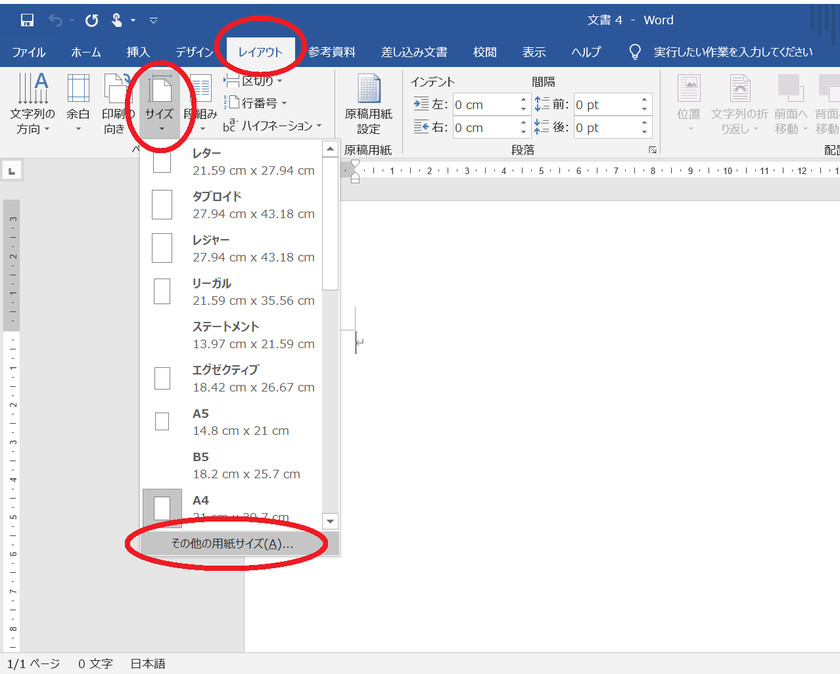
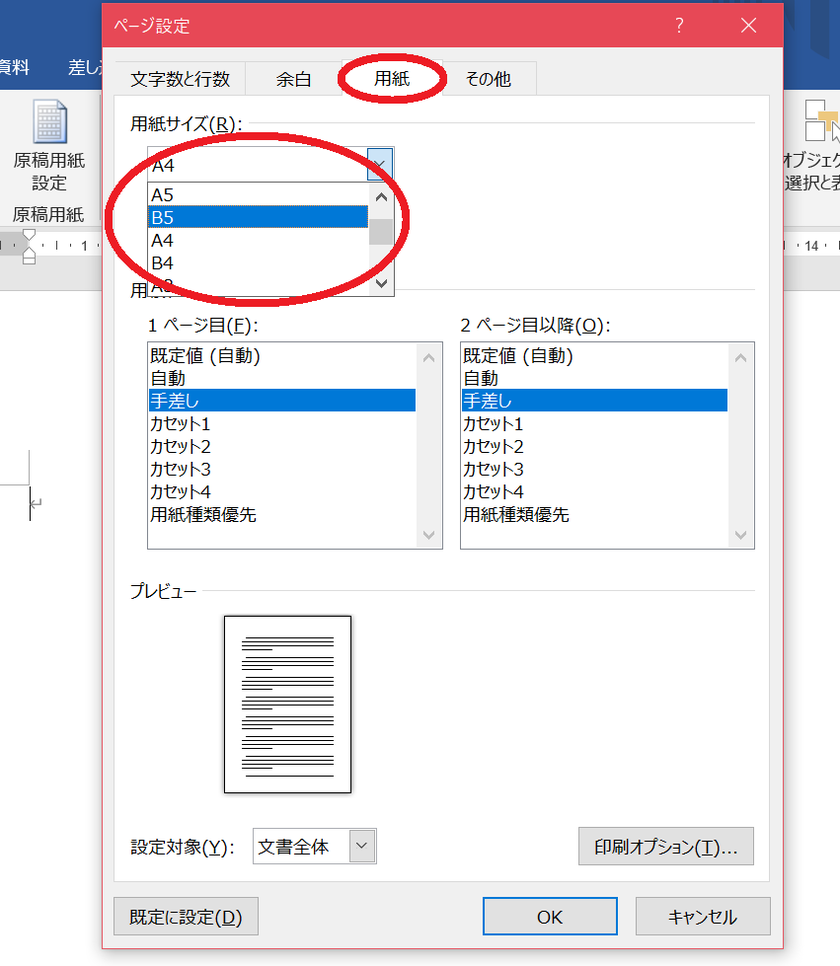
② Choose the paper size in the Page Setup. You can select common paper sizes from the dropdown (the arrow below)*
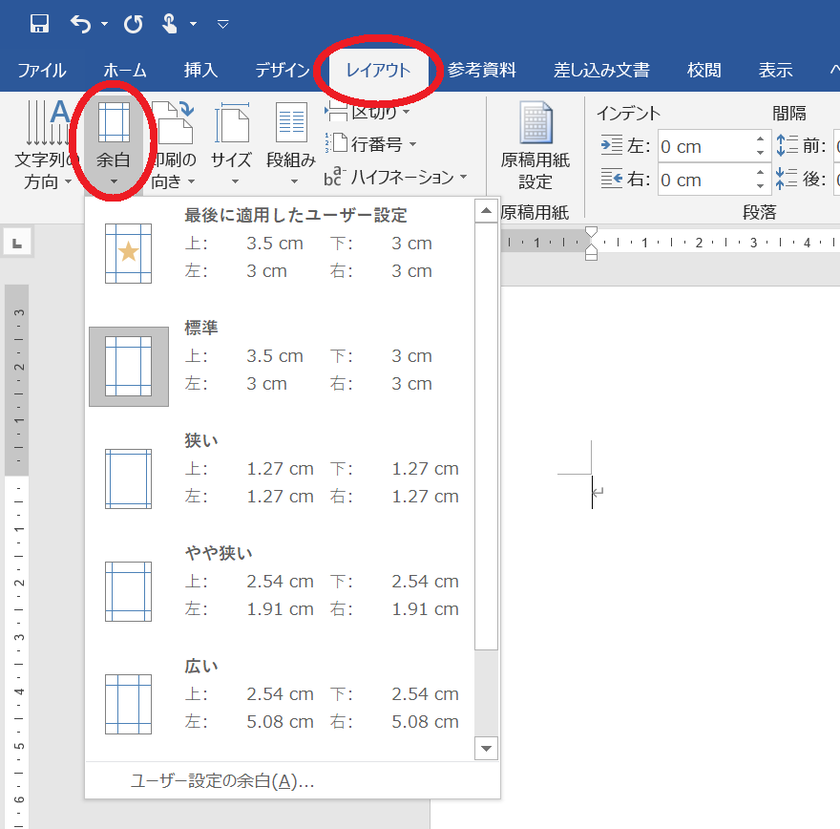
③ Go to Layout > Margins to set the margins around the paper. If you want to use the paper widely, select "Narrow"; if you only want to use the center of the paper, choose "Wide."
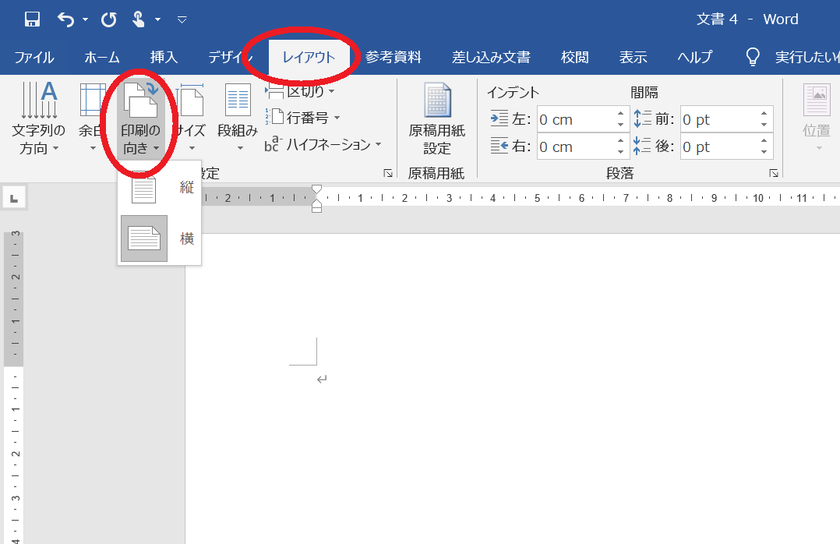
④ Go to Layout > Orientation and select either "Portrait" or "Landscape."
And that’s it for changing the paper size in Word!*
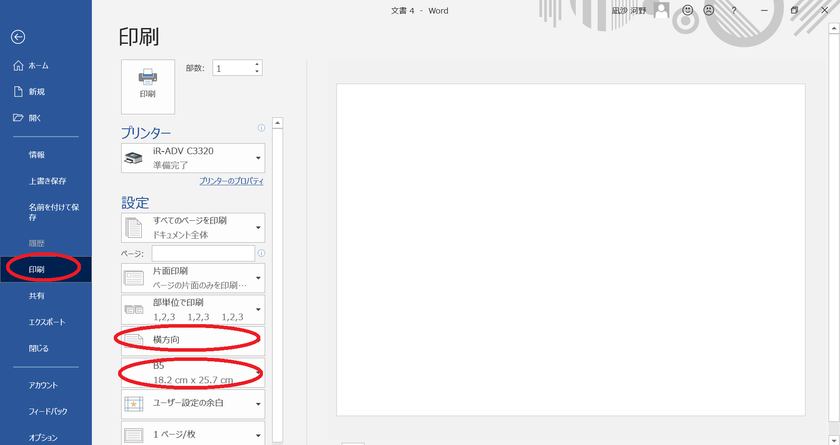
When printing, make sure to check whether the "Orientation" and "Size" match before printing*
I Want to Change the Paper Size in Word*
"I want to create Save the Date in B5."
"I want to print the address on the RSVP postcard."
"I want to make a welcome board in A3 size."
Changing the paper size in Word is essential in such cases.
To avoid issues like "I want to print in B5 but it's turned out A4...", don’t forget to set the paper size first*
《Helpful Articles About Word》
➡ Useful to Remember! A Simple Method to Reverse Text in Word and Excel*
➡ No Worries if You're Not Good with Computers! How to Create 'Data to Trace Letters'【Word Version】
➡ Let's Create Stylish Paper Items for Free! A Simple Method to Download Free Fonts*
➡ Done in 10 Minutes! This is the Easiest Method to 'Print Addresses on Invitations'*
![marry[マリー]](https://imgs.marry-xoxo.com/assets/marry_logo-e3a503203d635925f956631f4df079fe97f587ed360274455ead4fe26052b631.png)
 結婚式DIY
 ペーパーアイテム
 通販
通販
 ウェディングアイテム
 コラム
コラム
 ウェディングケーキ
 お金・節約
お金・節約
 髪型・メイク
 ドレス
ドレス
 和装
和装
 前撮り・ウェディングフォト
 靴・アクセサリー
 ブーケ
ブーケ
 挙式
挙式
 披露宴
披露宴
 ウェルカムスペース・装花
 引き出物・ギフト
 BGM・ムービー
 二次会
二次会
 ラブラブ結婚生活
 プロポーズ
プロポーズ
 顔合わせ・結納
 入籍
入籍
 式場探し
式場探し
 ハネムーン
ハネムーン
 ネイルアート
 指輪
指輪
 美容
美容
 新郎
新郎
 両家家族(親族)
 ゲスト
ゲスト
 韓国風
韓国風


