How to Add Shooting Star Effects to Any Photo: Perfect for Wedding Photos!
2020.10.04 published
I want to add shooting stars to my wedding photos♡
There are various types of image processing, such as blue sky processing, sparkling effects, and illustration processing...
This time, I will introduce the "shooting star processing" that adds stars to the sky♡
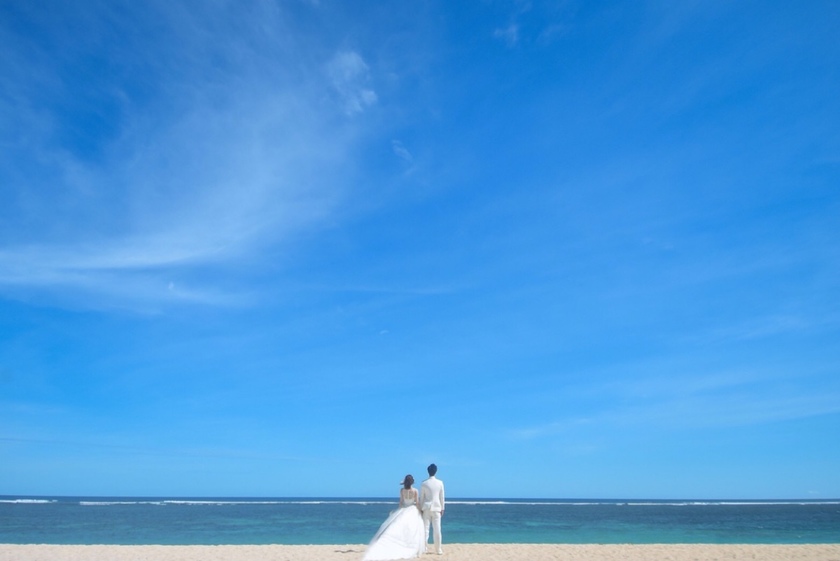
By processing shooting stars into location photos taken in the evening or at night, you can create cute photos that are even more romantic♡
How do you add shooting stars?
I will introduce how to edit photos with shooting stars♩
The app used is Picsart.
Once you open the image in the app, tap on "Stickers" at the bottom of the screen and type in the search bar "shooting star" or "流れ星".
Tap on your favorite sticker from the results, and then just adjust the size and position.
Recommended arrangements include:
① Reducing the opacity (to make the sticker blend naturally into the sky without looking too out of place)
② Editing the hue under adjustments (you can change a blue sticker to pink)
③ Increasing the number from one to two
These might be good options♩

Here are some photos I actually created using the sticker function in Picsart.
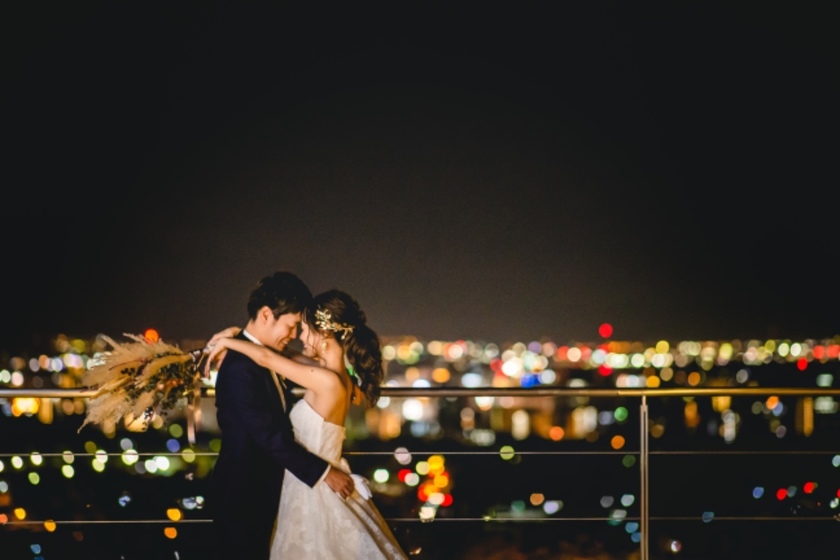
<Shooting Star Processing ①>
This is,
like this!♡
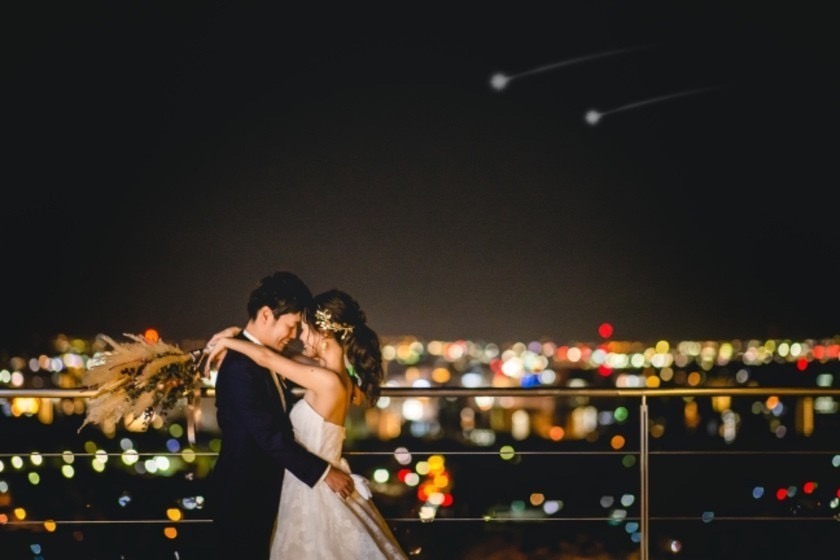
<Shooting Star Processing ②>
This is,
like this!♡

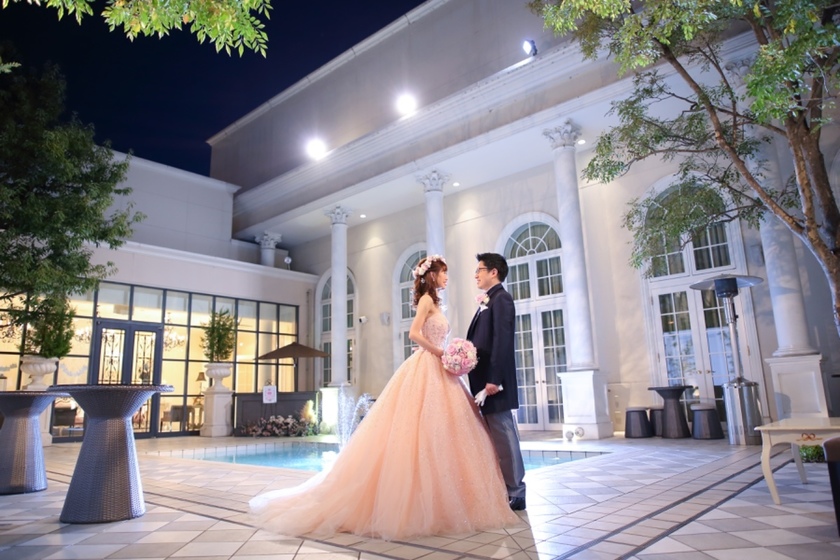
<Shooting Star Processing ③>
This is,
like this!♡

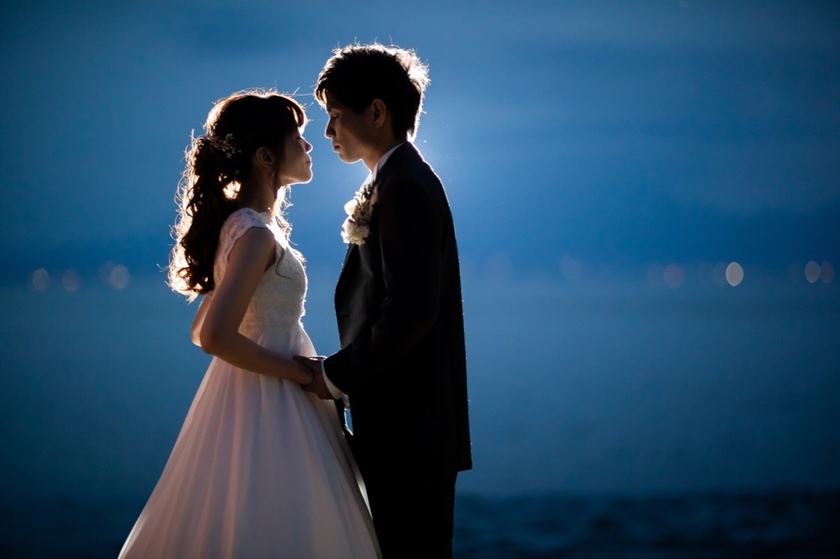
<Shooting Star Processing ④>
This is,
like this!♡

![marry[マリー]](https://imgs.marry-xoxo.com/assets/marry_logo-e3a503203d635925f956631f4df079fe97f587ed360274455ead4fe26052b631.png)
 結婚式DIY
 ペーパーアイテム
 通販
通販
 ウェディングアイテム
 コラム
コラム
 ウェディングケーキ
 お金・節約
お金・節約
 髪型・メイク
 ドレス
ドレス
 和装
和装
 前撮り・ウェディングフォト
 靴・アクセサリー
 ブーケ
ブーケ
 挙式
挙式
 披露宴
披露宴
 ウェルカムスペース・装花
 引き出物・ギフト
 BGM・ムービー
 二次会
二次会
 ラブラブ結婚生活
 プロポーズ
プロポーズ
 顔合わせ・結納
 入籍
入籍
 式場探し
式場探し
 ハネムーン
ハネムーン
 ネイルアート
 指輪
指輪
 美容
美容
 新郎
新郎
 両家家族(親族)
 ゲスト
ゲスト
 韓国風
韓国風


