結婚式DIY
 ペーパーアイテム
 通販
通販
 ウェディングアイテム
 コラム
コラム
 ウェディングケーキ
 お金・節約
お金・節約
 髪型・メイク
 ドレス
ドレス
 和装
和装
 前撮り・ウェディングフォト
 靴・アクセサリー
 ブーケ
ブーケ
 挙式
挙式
 披露宴
披露宴
 ウェルカムスペース・装花
 引き出物・ギフト
 BGM・ムービー
 二次会
二次会
 ラブラブ結婚生活
 プロポーズ
プロポーズ
 顔合わせ・結納
 入籍
入籍
 式場探し
式場探し
 ハネムーン
ハネムーン
 ネイルアート
 指輪
指輪
 美容
美容
 新郎
新郎
 両家家族(親族)
 ゲスト
ゲスト
 韓国風
韓国風


There is a tutorial video🎀 It's cute to tie the yukata obi in a "cat ear knot" and arrange it like Hello Kitty❤️
2024.07.19 published

How to Tie a Very Cute Yukata Obi That You Want to Try This Summer 🎀
Fireworks Festivals and Summer Celebrations 🎆
This summer, packed with fun events, we would like to introduce you to a very cute way to tie an obi for those wearing yukata!*
Here it is 🎀
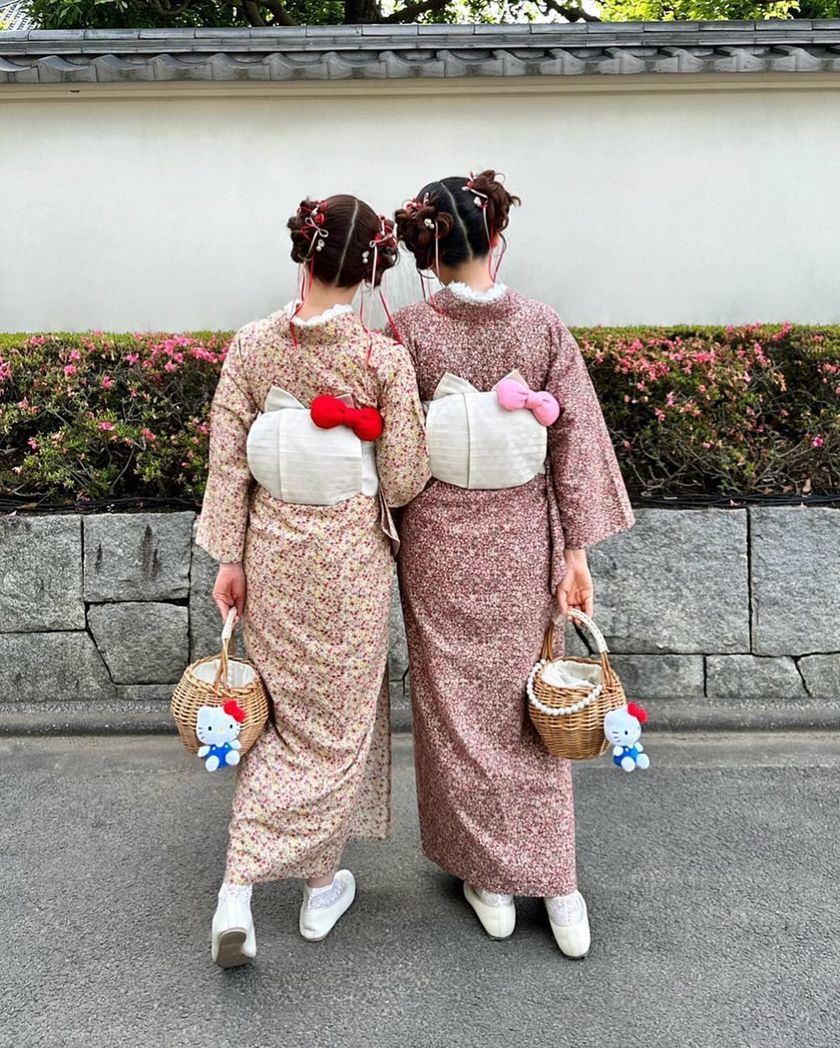
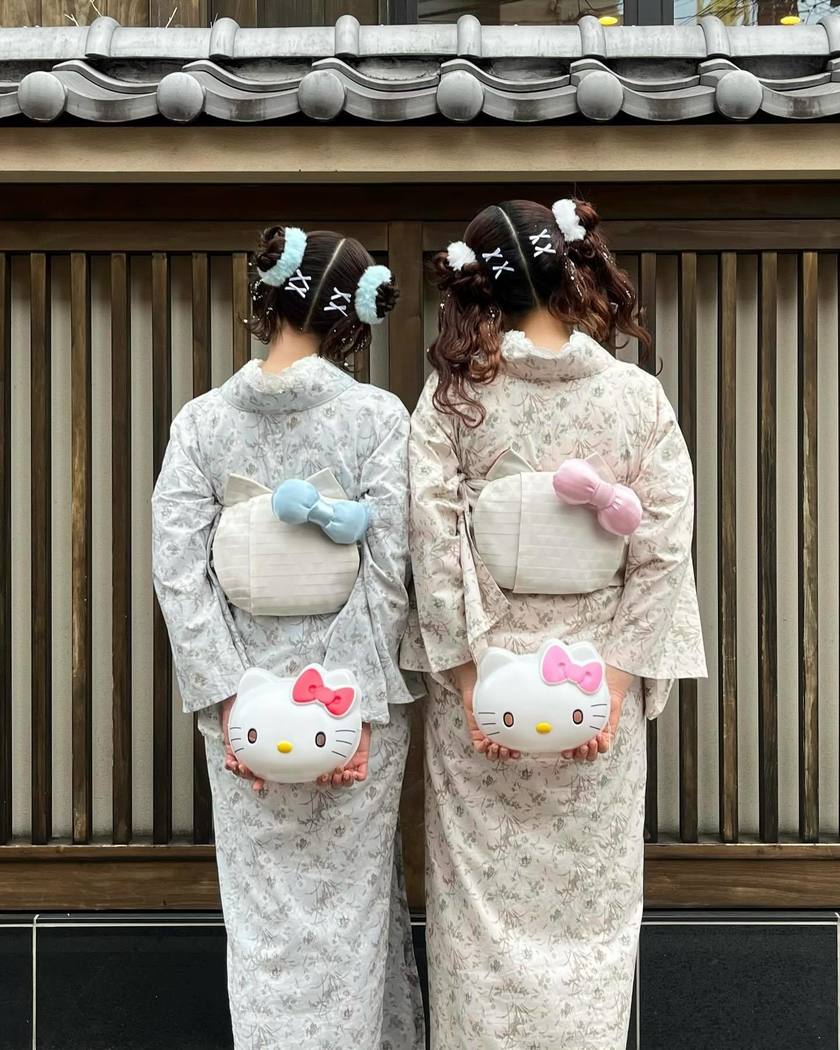
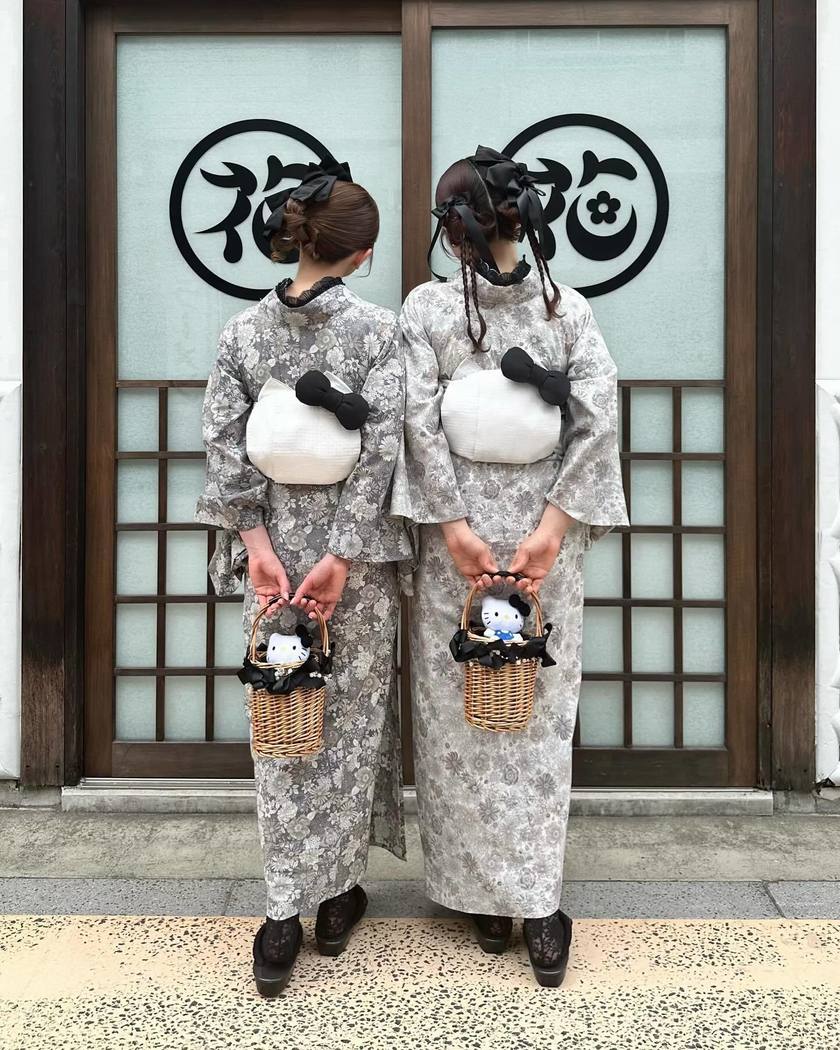
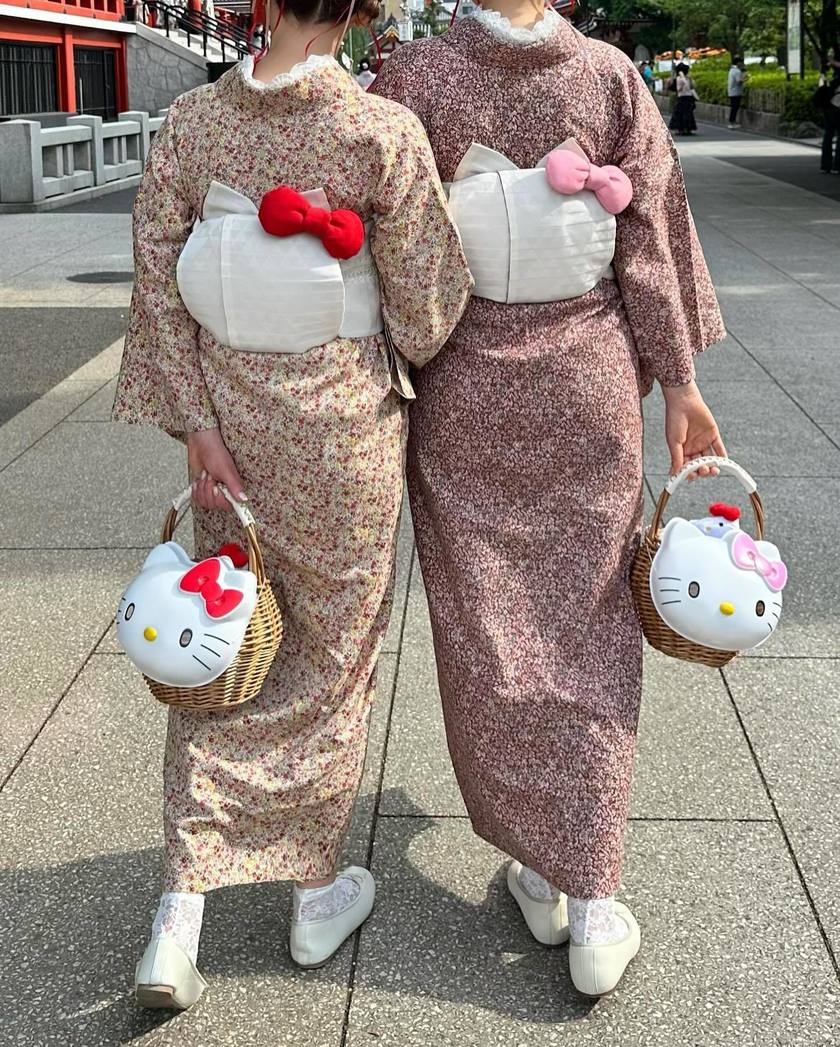
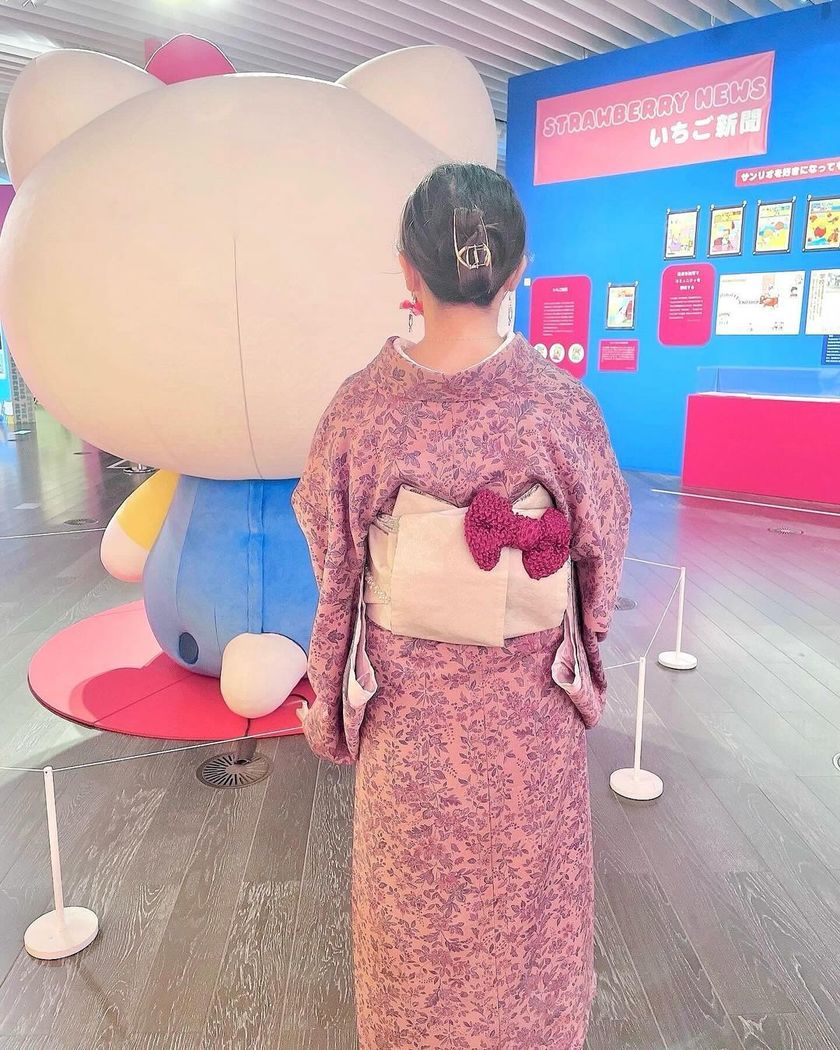
This is the way to tie a Hello Kitty obi ♡

This obi knot is called the "Nekomimi Knot" or "Cat-Ear Obi Knot."
It has little cat ears poking out from the obi, and when you add a ribbon, it becomes Hello Kitty ❤️
The ribbon can be made from a heko obi or obiage, which is also very cute!*
Introducing the Knotting Method ♡
The official YouTube channel of "MIMATSU," which offers collaboration yukata with Sanrio characters, has a tutorial on how to tie the Hello Kitty obi, so we would like to share it with you!*

(Preparation) Wrap a three-tiered temporary cord
➡ You can buy a three-tiered temporary cord for 580 yen on Rakuten*

① Fold the tip of the left-hand side (short side) into a triangle
② Thread it through the bottom of the three-tiered temporary cord
③ Likewise, fold the right side into a triangle
④ Thread it through the second part of the three-tiered temporary cord
⑤ Fold the tail end (long side) into thirds
⑥ Finally, thread the remaining obi through the three-tiered temporary cord
⑦ Fold the remaining part into thirds and insert it into the same place as step ⑥
⑧ Shape the face
⑨ Tighten the obi
⑩ Wrap the obi around to make the face round
⑪ Adjust the shape of the face
⑫ Pre-tie a heko obi into a bow and attach it to the right ear
⑬ Tuck in any excess fabric
⑭ Adjust the overall shape, and it's done! ♡
MIMATSU's Sanrio collaboration yukata includes Hello Kitty, My Melody, and Kuromi! ♡
(The collaboration yukata comes as a set with a yukata and obi, but the Hello Kitty lace obi used in the video is sold separately. The heko obi tied with a ribbon is included in the set.)
➡ Here is the product page for MIMATSU's Sanrio collaboration yukata*