Symbol of Connection: A Complete Guide to the Adorable DIY 'Ribbon Shower' ✨
2015.10.04 published
Ribbon showers are very popular ♡
Speaking of weddings, a flower shower is essential. The moment when many friends congratulate you with a flower shower is so happy ♩ However, an alternative to the flower shower, the ribbon shower, is currently very popular ♡
〔Tips for Making It Well ♩〕I Want to Know How to Make It♡
The fluttering ribbons look just like butterflies, making it girly and romantic ♡ There aren’t many venues or shops that sell ribbons for ribbon showers yet, so DIY is the standard for having a ribbon shower.
But how can I make it well by hand?? Here are some tips for successfully making a ribbon shower by hand ♩
〔Basics〕* How to Make Ribbon Showers*
First, let's start with the basics, making ribbons for the ribbon shower using ribbon tape. You will need your favorite craft ribbon tape, a divider board, and scissors.*
Check out the how-to video
① First, place the long side of the divider board facing up, and wrap the ribbon around it completely. Make sure the end of the ribbon is on top!
② Next, pass the ends of the ribbon through the space between the divider boards while crossing them so that the ends are on top. Be careful not to twist the ribbon here!
③ Lift the longer side of the ribbon up and pass it through the top gap in the middle of the divider board.
④ Cut the ribbon to even out the lengths.
⑤ Once you remove it from the divider board, it's complete ♩ You have a beautifully shaped ribbon bow ♡ Since there’s no waste of ribbon, it’s very eco-friendly too.*
〔Tips for DIY Ribbon Showers 1〕 Choose Cute Colors ♡
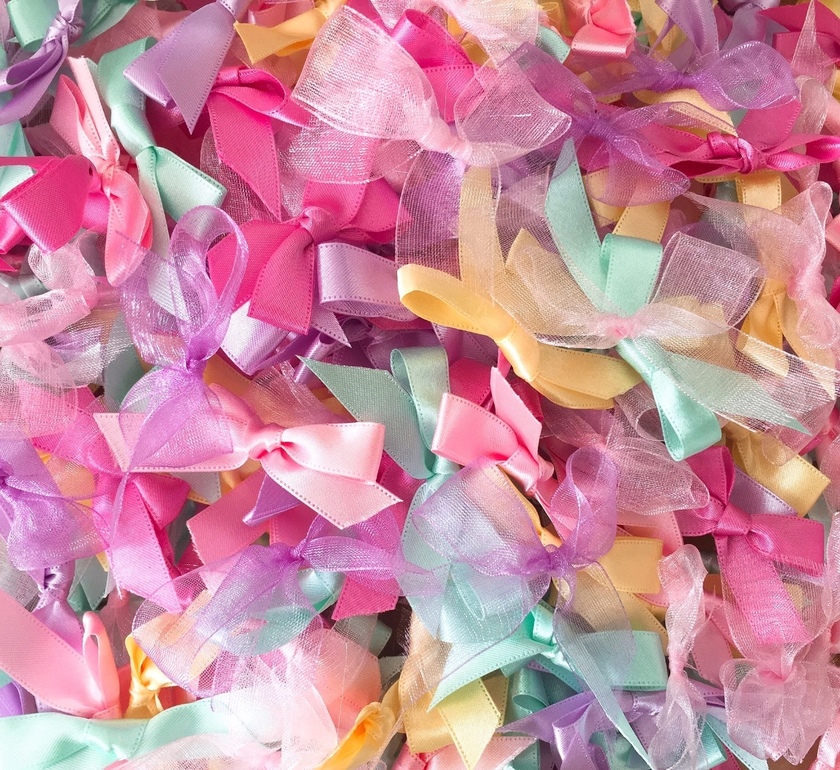
There are many types of ribbons, and it can be hard to decide which ones to use.* First, if you make them in colors that match the theme color of your wedding, it will create a sense of unity and increase the overall cuteness of the ceremony ♩
Soft pastel colors look great against a pure white venue or off-white dress ♡ On the other hand, colorful ribbons might stand out beautifully in a natural, green-filled space.
The colorful ribbons scattered on the floor also look very cute ♡ It’s a moment when you can capture wonderful shots enveloped in the ribbon shower, so let's choose the colors of the ribbon shower to match the floor color and dress color of the venue ♩
〔Tips for DIY Ribbon Showers 2〕 Adjust the Weight!
Ribbon showers are super cute and desirable, but if I had to point out a downside, it's that "the ribbons themselves are too light and don’t fly much when thrown."
The solution is to "mix different materials of ribbon."*
By mixing various weights of ribbons like satin and tulle, their floating times in the air will differ, allowing you to throw them longer, higher, and farther ♡
It seems some brides even mix in pearl showers!♡
〔Tips for DIY Ribbon Showers 3〕 Making Shower Cones ♡
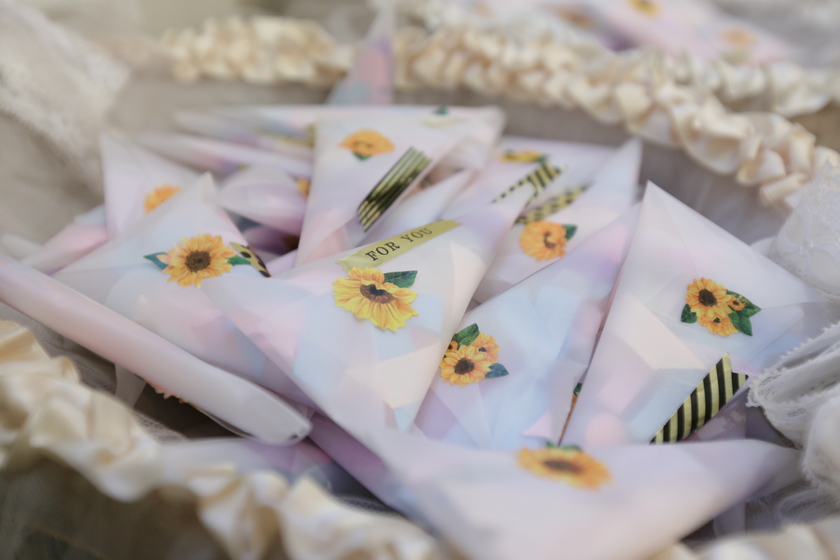
Once you've successfully made the ribbon showers, the final touch is to pay attention to the containers to distribute them to guests, as this is another tip to make them look cute. The standard way is to put them into "shower cones," which are like soft-serve ice cream cones made by rolling up paper.
You can print your original logo for the couple on paper and make the cones, or it’s trendy to roll up lace paper from 100 yen shops, as well as using transparent film for the cones. It's cute because you can see all the ribbons packed inside!*
Wedding Preparations. Ribbon Shower Making Is Perfect!
The cute ribbon shower, which also has the wonderful meaning of "tying bonds," is a very cute and lovely performance ♡ Let’s master the DIY tips and prepare handmade items skillfully ♡
I want to create unforgettable memories with both the bride and groom and all the guests enjoying the ribbon shower together ♩
➡ Check out the list of ribbon shower articles here*

![marry[マリー]](https://imgs.marry-xoxo.com/assets/marry_logo-e3a503203d635925f956631f4df079fe97f587ed360274455ead4fe26052b631.png)
 結婚式DIY
 ペーパーアイテム
 通販
通販
 ウェディングアイテム
 コラム
コラム
 ウェディングケーキ
 お金・節約
お金・節約
 髪型・メイク
 ドレス
ドレス
 和装
和装
 前撮り・ウェディングフォト
 靴・アクセサリー
 ブーケ
ブーケ
 挙式
挙式
 披露宴
披露宴
 ウェルカムスペース・装花
 引き出物・ギフト
 BGM・ムービー
 二次会
二次会
 ラブラブ結婚生活
 プロポーズ
プロポーズ
 顔合わせ・結納
 入籍
入籍
 式場探し
式場探し
 ハネムーン
ハネムーン
 ネイルアート
 指輪
指輪
 美容
美容
 新郎
新郎
 両家家族(親族)
 ゲスト
ゲスト
 韓国風
韓国風


