A Touch of Thoughtfulness: How to Add a Map QR Code to Your Wedding Invitation in Just 3 Minutes
2019.12.15 published
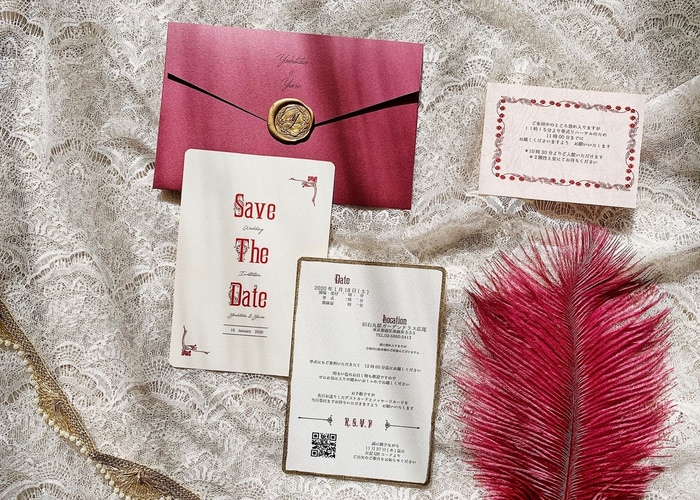
Have you created a "Map" to include with the invitation?
For brides making their own wedding invitations, have you made a "map" to the venue?
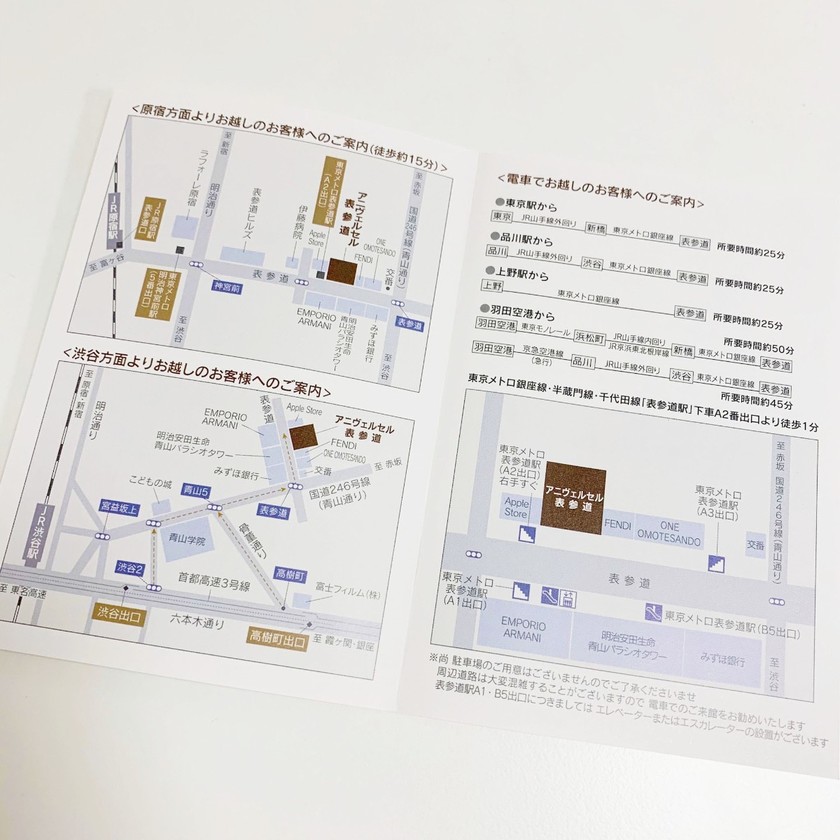
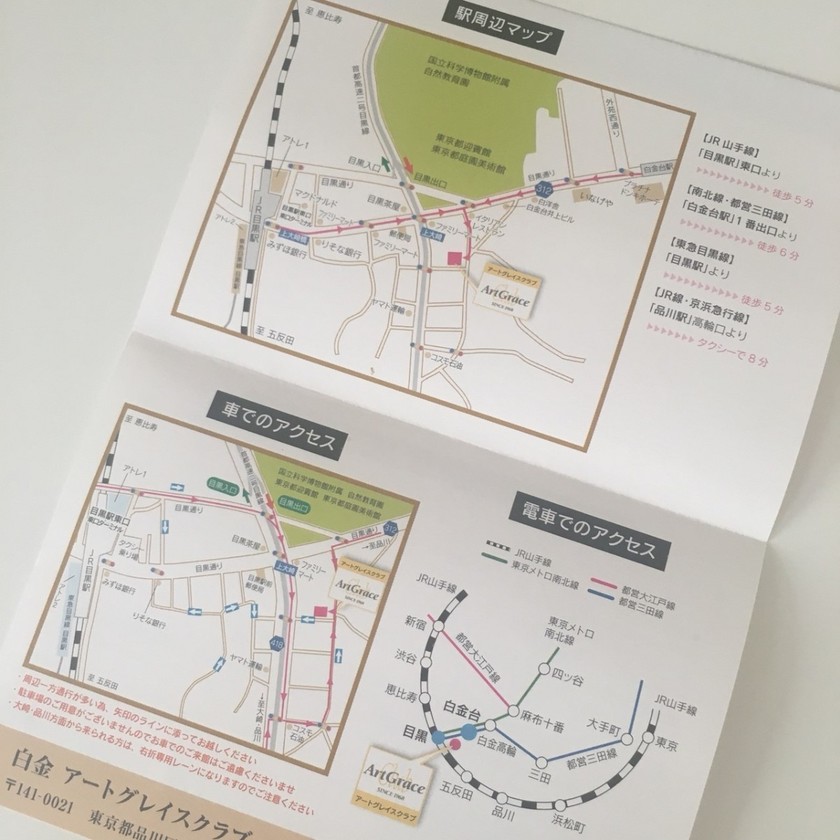
The map to the venue usually comes with the wedding invitation if you order it from the wedding hall, but many brides who make their own invitations often create their own maps as well ♩
It's important to provide a clear map so that guests don't get lost on their way to the wedding venue*

Adding a "QR code map" to the wedding invitation is considerate*
However, these days, even if there is a paper map included, many people still end up typing the venue's name or address into Google Maps to find the location on the day!
I tend to rely on Google Maps right away, even if there is a map included with the invitation, because I have a poor sense of direction...!

Therefore, including a Google Maps QR code in the paper invitation is the way modern brides do it* It saves guests the trouble of typing in the venue's name or address, which is very thoughtful, right? ♡
So, how exactly do you create a QR code for the map? Let's find out together*
Including a map in the invitation as a QR code! How to create a QR code*
Creating a QR code is very easy* This time, we'll create a QR code from the site "CMAN" ♩ For this demonstration, I will create a map to Roppongi Hills♡
➡ You can create a QR code from here*
First, click the link above, enter the address of the desired location, and press "1. Display map"* (This time, I entered the address for Roppongi Hills)
A map will appear on the screen below, so adjust it so that the destination is in the center of the map ◎ Using the scale button in the lower-right corner is recommended to make sure the nearest station is visible*
Options are available but not necessary* The title is the text that will be displayed when the QR code is scanned. I included a note indicating that a map will be displayed and a cautionary phrase to have a safe journey♩
I left the cell size and number as they were, but changed the cell color to pink◎
Once completed, press "2. Create map QR code"!
This finishes creating the QR code for Roppongi Hills! All that remains is to download it and paste it into the invitation file (such as Word or Illustrator) to complete it◎
By the way, here is what the screen looks like when this QR code is scanned* When scanned, the title appears, and pressing the content shows the map♩
➡ You can create a QR code from here*
![marry[マリー]](https://imgs.marry-xoxo.com/assets/marry_logo-e3a503203d635925f956631f4df079fe97f587ed360274455ead4fe26052b631.png)
 結婚式DIY
 ペーパーアイテム
 通販
通販
 ウェディングアイテム
 コラム
コラム
 ウェディングケーキ
 お金・節約
お金・節約
 髪型・メイク
 ドレス
ドレス
 和装
和装
 前撮り・ウェディングフォト
 靴・アクセサリー
 ブーケ
ブーケ
 挙式
挙式
 披露宴
披露宴
 ウェルカムスペース・装花
 引き出物・ギフト
 BGM・ムービー
 二次会
二次会
 ラブラブ結婚生活
 プロポーズ
プロポーズ
 顔合わせ・結納
 入籍
入籍
 式場探し
式場探し
 ハネムーン
ハネムーン
 ネイルアート
 指輪
指輪
 美容
美容
 新郎
新郎
 両家家族(親族)
 ゲスト
ゲスト
 韓国風
韓国風


